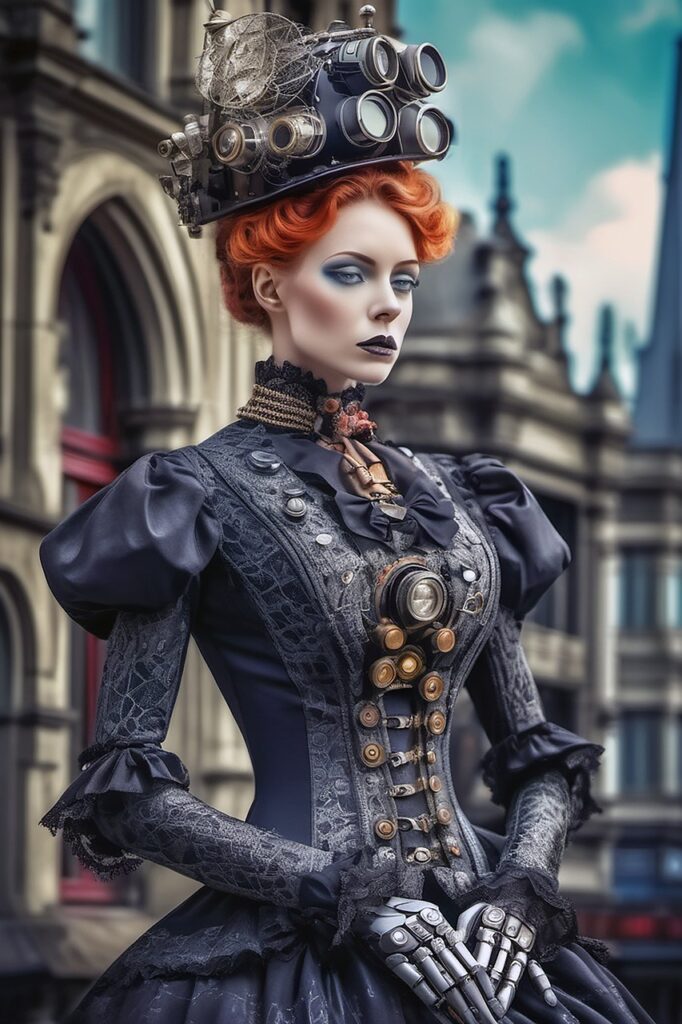
Welcome to our article on “3 Expert Tips for Distressing Your Steampunk Clothing”! Whether you’re a seasoned steampunk enthusiast or just getting started with the style, distressing your clothing can add a unique touch of authenticity and character to your outfit. In this article, we will share three top tips from experts on how to achieve the perfect distressed look for your steampunk attire. From creating aged effects to distressing specific pieces, you’ll be sure to elevate your steampunk wardrobe with these expert techniques. So, grab your goggles and gears, and let’s get started! Have you ever wanted to give your steampunk clothing a vintage, distressed look but didn’t know where to start? Distressing your steampunk clothing can add character and authenticity to your outfit, making it look like it’s been through many adventures and battles. In this article, we will provide you with three expert tips for distressing your steampunk clothing, so you can achieve that perfect worn-in aesthetic.

Gather Your Materials
Before you begin distressing your steampunk clothing, it’s essential to gather all the necessary materials. You will need:
- Steampunk Clothing: Choose the garments you want to distress. This could be a jacket, vest, trousers, or even accessories like goggles or hats.
- Sandpaper: Different grades of sandpaper will give you varying degrees of distressing. Coarse sandpaper will provide a more rugged look, while fine sandpaper will give a subtle worn-in appearance.
- Scissors: You may need scissors to create frayed edges or distress specific areas of your clothing.
- Bleach: Bleach can help lighten certain areas of your clothing for a distressed look.
- Dye or Stain: Dye or stain can add depth to your clothing and make it look more aged.
- Old Toothbrush: An old toothbrush can be used to splatter bleach or dye onto your clothing for a unique distressed effect.
- Pumice Stone: A pumice stone can help create a more natural-looking distressing effect.
- Rubbing Alcohol: Rubbing alcohol can be used to lighten areas of your clothing, creating a worn-in appearance.
- Optional: Distressing Tools: You can also use tools like chains, hammers, or keys to create more dramatic distressing effects.
Where to Find Materials
You can find most of these materials at your local craft store or hardware store. For a more authentic steampunk look, consider visiting thrift stores or antique shops to find unique items like old keys, chains, or leather belts to use in your distressing process.
Once you have gathered all your materials, you’re ready to start distressing your steampunk clothing and giving it that perfect vintage look.
Test on a Small Area
Before you begin distressing your entire steampunk outfit, it’s essential to test your distressing techniques on a small, inconspicuous area of your clothing. This will allow you to see how the materials and techniques will affect the fabric and help you determine the desired level of distressing you want to achieve.
To test your distressing techniques:
- Choose a small area: Pick a hidden or less visible spot on your clothing to test your distressing techniques. This could be an inside seam or the back of a collar.
- Apply the distressing method: Use a small amount of sandpaper, bleach, dye, or any other distressing material you want to test on the chosen area.
- Observe the results: After applying the distressing method, observe how the fabric reacts. Is the distressing effect too subtle or too dramatic? Adjust your technique accordingly.
Testing your distressing techniques on a small area first will help you avoid any irreversible mistakes and ensure that you achieve the desired distressed look on your steampunk clothing.

Layer Your Distressing Techniques
One of the key elements of distressing steampunk clothing is layering different techniques to create a multidimensional and authentic worn-in look.
To layer your distressing techniques effectively:
-
Start with Sandpaper: Begin by using sandpaper to distress the edges and seams of your clothing. Focus on areas that would naturally experience wear and tear, such as elbows, cuffs, and hems.
Pro Tip: To create a more natural distressing effect, use a circular motion when sanding and vary the pressure applied.
-
Add Bleach or Dye: After distressing with sandpaper, you can apply bleach or dye to certain areas of your clothing to add depth and variation to the distressing effect.
Pro Tip: Dilute the bleach or dye with water to create a more subtle effect, or apply it directly for a more dramatic look.
-
Use Distressing Tools: For a more unique and customized distressing effect, you can use tools like chains, hammers, or keys to create scratches, dents, or other damage on your clothing.
Pro Tip: Place a piece of cardboard or scrap fabric underneath the area you are distressing to prevent damage to other parts of your clothing.
-
Finish with Rubbing Alcohol: To create a worn-in appearance on specific areas of your clothing, use rubbing alcohol on a cotton ball or cloth to lighten the fabric.
Pro Tip: Use the rubbing alcohol sparingly and in a well-ventilated area to prevent overpowering the distressed look.
By layering different distressing techniques, you can achieve a natural and authentic worn-in aesthetic on your steampunk clothing that looks like it has been through countless adventures.

Care and Maintenance
Once you have distressed your steampunk clothing to perfection, it’s essential to take care of your garments to preserve the distressed look and ensure their longevity.
To care for your distressed steampunk clothing:
-
Hand Wash Only: To avoid damaging the distressing effects, hand wash your steampunk clothing in cold water with a mild detergent. Avoid using harsh chemicals or bleach when cleaning.
Pro Tip: Turn your distressed clothing inside out before washing to protect the distressed areas from direct contact with water.
-
Air Dry: Instead of using a dryer, air dry your distressed steampunk clothing by laying it flat on a clean towel or hanging it on a padded hanger. Avoid hanging distressed garments on a clothesline, as this can cause stretching and distortion.
Pro Tip: Do not expose your distressed clothing to direct sunlight, as this can fade the distressing effects over time.
-
Store Properly: When not wearing your distressed steampunk clothing, store it in a cool, dry place away from direct sunlight and moisture. Avoid folding or creasing the distressed areas, as this can cause the distressing effects to wear off.
Pro Tip: Consider storing your distressed clothing in a garment bag or closet with cedar blocks to deter pests and absorb moisture.
By following these care and maintenance tips, you can ensure that your distressed steampunk clothing remains in top condition and continues to exude that perfect vintage look for many adventures to come.
In conclusion, distressing your steampunk clothing is a creative and fun way to add character and authenticity to your outfit. By following these expert tips, you can achieve the perfect vintage, worn-in aesthetic that will make your steampunk clothing stand out from the crowd. So grab your sandpaper, bleach, and distressing tools, and start creating your own unique and personalized distressed steampunk look today.

