
Are you interested in learning how to create stunning mechanical artwork but don’t know where to start? Don’t worry, we’ve got you covered! This step-by-step guide is perfect for beginners who want to dive into the world of mechanical art. Let’s get started!
What is Mechanical Artwork?
Mechanical artwork refers to art that incorporates mechanical elements or functions. This can include moving parts, gears, levers, and other mechanisms that add movement and interactivity to the artwork. Mechanical art can be created using a variety of materials such as metal, wood, plastic, and more.
If you’ve ever been fascinated by art that moves or has intricate designs, then mechanical artwork is definitely something you should try your hand at.
Choosing the Right Materials
The first step in creating mechanical artwork is choosing the right materials. Depending on the type of mechanical art you want to create, you may need different materials such as gears, motors, springs, and other components.
It’s essential to select materials that are durable, easy to work with, and appropriate for the level of complexity you’re comfortable with. Remember, starting with simple materials and designs can help you build your skills before tackling more challenging projects.
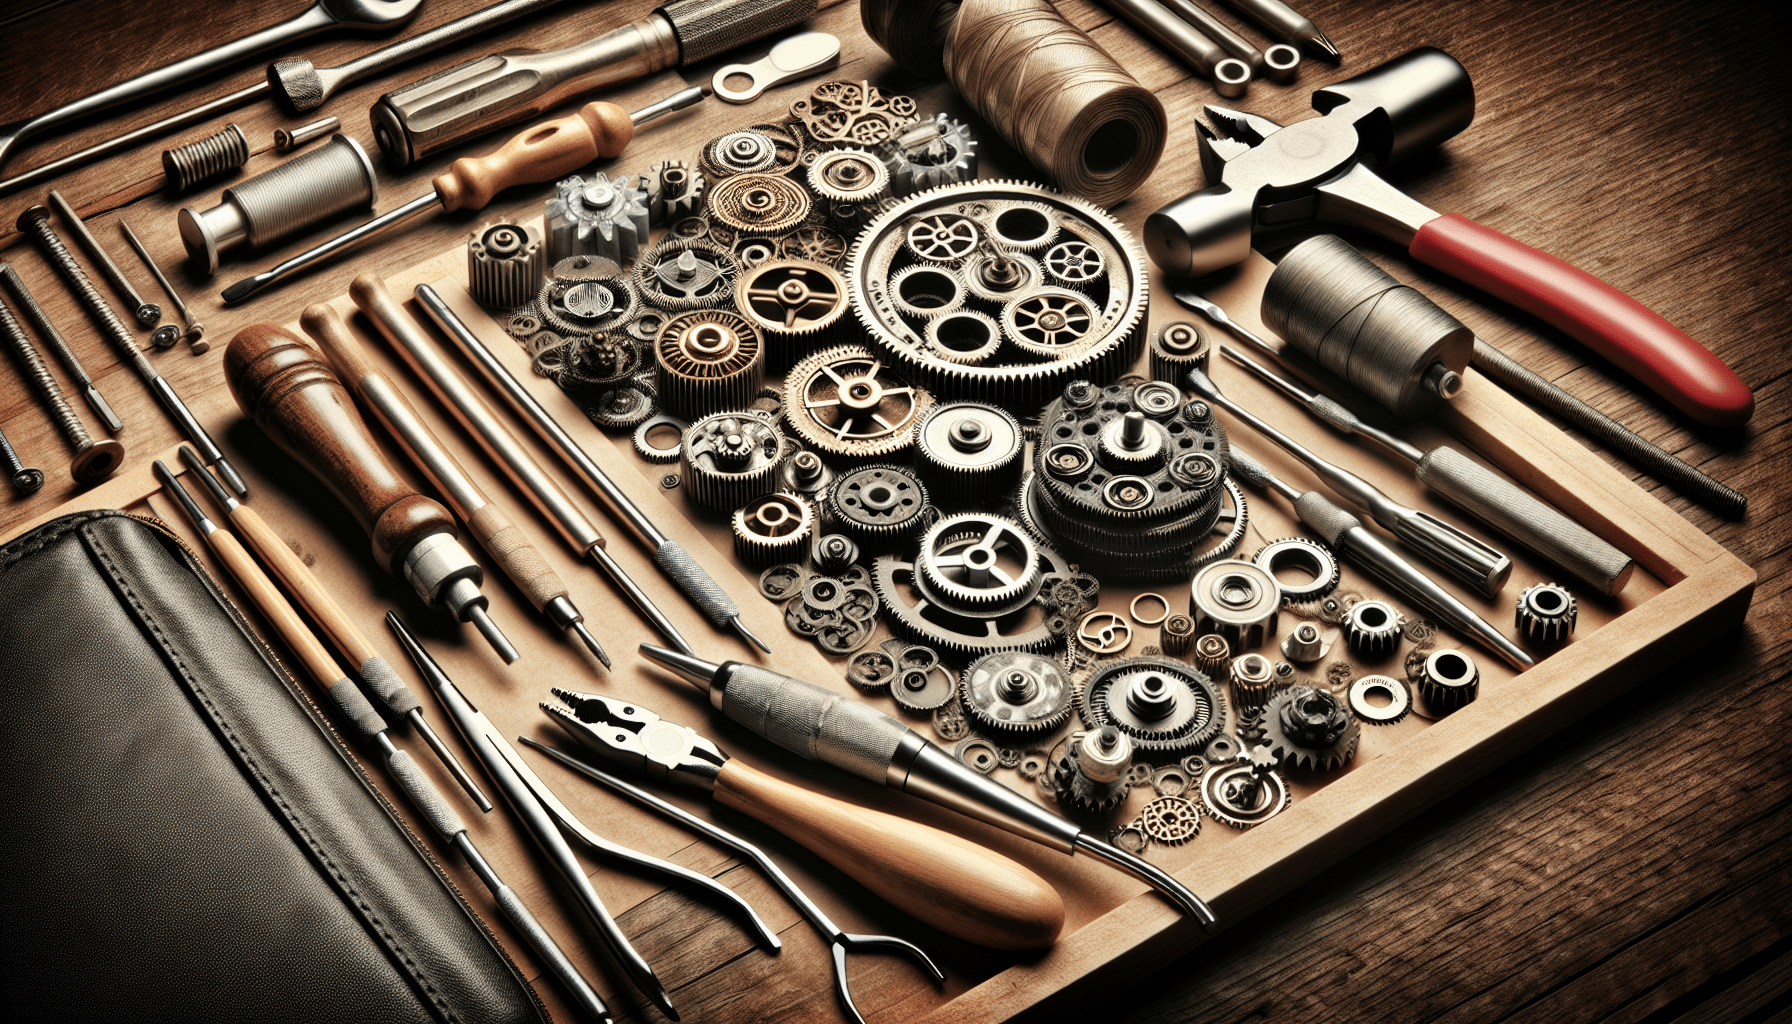
Basic Tools You Need
Before you start creating your mechanical artwork, it’s essential to have the right tools on hand. Some basic tools you may need include:
- Screwdrivers
- Pliers
- Wire cutters
- Glue guns
- Scalpel or craft knife
- Ruler
- Cutting mat
Having the right tools will make the process of creating mechanical art much more manageable and enjoyable. Make sure to have these tools in your workspace before you begin.
Building Your First Mechanical Art Piece
Now that you have your materials and tools ready, it’s time to start building your first mechanical art piece. Here’s a step-by-step guide to help you get started:
- Sketch Your Design: Before diving into the creation process, sketch out your design on paper. This will help you visualize the final product and plan out the components you’ll need.
- Gather Materials: Collect all the materials you’ll need for your project, making sure they’re organized and easily accessible.
- Cut and Assemble: Start by cutting the materials to the appropriate sizes and assembling the basic structure of your artwork.
- Add Mechanical Components: Incorporate the mechanical elements such as gears, levers, or motors into your design.
- Test and Adjust: Once your mechanical art piece is complete, test its functionality and make any necessary adjustments to ensure smooth movement.
Remember, the key to success in creating mechanical artwork is patience and attention to detail. Don’t rush the process and take your time to perfect each step.
Troubleshooting Common Issues
As a beginner in mechanical artwork, you may encounter some common issues along the way. Here are a few tips to help you troubleshoot these problems:
- Gears not Aligned: If your gears are not aligning correctly and causing friction, try adjusting their positions or adding lubricant to improve movement.
- Loose Components: If you find that your components are coming loose, consider reinforcing them with additional glue or screws to secure them in place.
- Motor Malfunction: In case your motor is not working correctly, double-check the wiring connections and ensure that the power source is functioning.
Remember, facing challenges is a natural part of the learning process, and troubleshooting these issues will only make you a better mechanical artist in the long run.
Tips for Enhancing Your Mechanical Artwork
Once you’ve mastered the basics of creating mechanical artwork, here are some tips to help you take your skills to the next level:
- Experiment with Different Movements: Try incorporating different types of movements into your art, such as rotation, oscillation, or sliding mechanisms.
- Learn from Experienced Artists: Watch tutorials, attend workshops, or collaborate with experienced mechanical artists to expand your knowledge and skills.
- Stay Organized: Keep your workspace clean and organized to avoid losing materials or tools and streamline the creation process.
- Get Creative: Don’t be afraid to think outside the box and experiment with unconventional materials or designs to create unique and innovative artwork.
By following these tips and continuously challenging yourself, you’ll be able to create breathtaking mechanical artwork that truly showcases your creativity and talent.
Final Thoughts
Creating mechanical artwork is an exciting and rewarding journey that allows you to explore the fascinating world of art and mechanics. As a beginner, the key is to start small, build your skills gradually, and never be afraid to experiment and learn from your mistakes.
Remember, every piece of artwork you create is a step closer to mastering the art of mechanics and expressing yourself through innovative and captivating designs. So grab your tools, gather your materials, and start creating your own mechanical masterpieces today!