Introduction
Do you have a passion for creating intricate and detailed mechanical artwork? If so, you are in the right place! In this article, we will explore the art of precision and share valuable techniques to help you improve your mechanical artwork.

Choosing the Right Tools
Before diving into creating your masterpiece, it is essential to make sure you have the right tools for the job. Precision work requires tools that are accurate and reliable. Some must-have tools for mechanical artwork include:
| Tool | Description |
|---|---|
| Precision Knife | Ideal for cutting and carving intricate details |
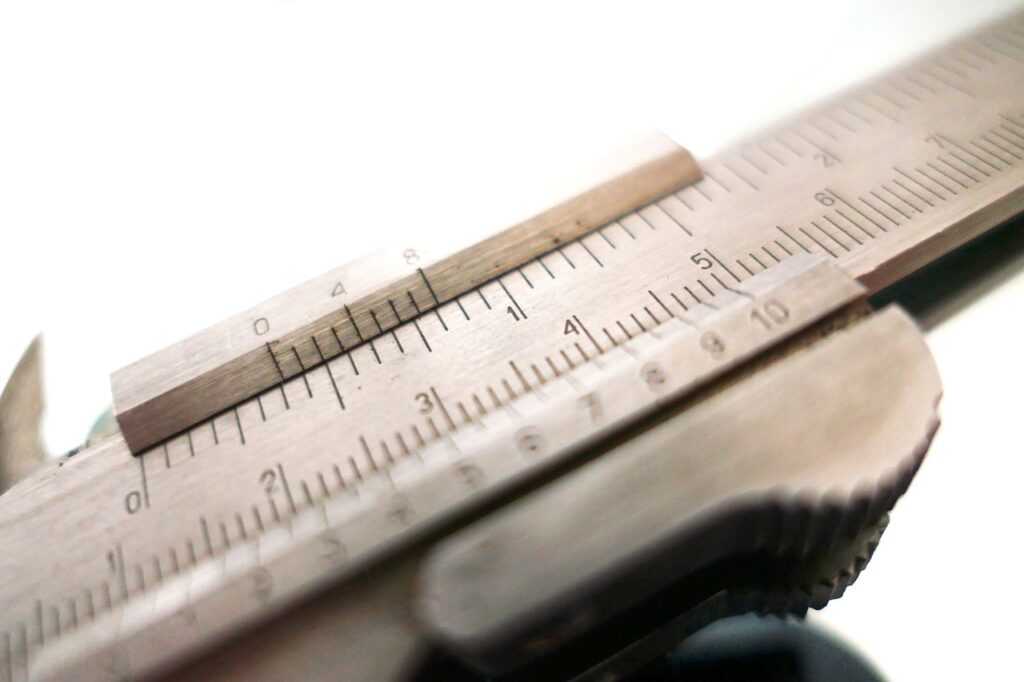
| Calipers | Measuring tool for precise measurements |
| Tweezers | Perfect for handling tiny components with accuracy |
| Ruler | Essential for ensuring straight lines and angles |
Having these tools in your arsenal will set you up for success in creating precise mechanical artwork.
Understanding Mechanical Principles
To excel in creating mechanical artwork, it is crucial to have a good understanding of basic mechanical principles. Concepts such as gear ratios, torque, and friction play a significant role in the functionality of mechanical pieces. By mastering these principles, you will be able to design and create artwork that not only looks stunning but also functions correctly.
Precision Cutting Techniques
Precision cutting is a fundamental skill in mechanical artwork. Whether you are working with paper, wood, or metal, achieving clean and precise cuts is essential for the overall quality of your piece. Some techniques to improve your cutting precision include:
-
Use a Cutting Mat: Place your material on a cutting mat to protect your work surface and ensure accurate cuts.
-
Sharp Blades: Always use sharp blades in your cutting tools to prevent tearing or jagged edges.
-
Practice. As with any skill, practice makes perfect. Take your time and focus on making each cut as precise as possible.
By honing your cutting skills, you will be able to create intricate and detailed mechanical artwork with precision.
Assembly Tips for Mechanical Artwork
Assembling mechanical artwork requires patience and attention to detail. One mistake in the assembly process can throw off the entire piece. Here are some tips to help you with the assembly of your mechanical artwork:
-
Organize Your Parts: Before starting the assembly, organize all your parts in a clear and systematic way. This will help prevent confusion and ensure that you have all the components you need.
-
Follow Instructions: If you are working from a kit or blueprint, make sure to follow the instructions carefully. Skipping steps or making assumptions can lead to errors in the assembly.
-
Test Fit: Before committing to glue or fasteners, do a test fit of your components to ensure everything lines up correctly. Making adjustments during this stage can save you a lot of headaches later on.
By following these assembly tips, you will be able to put together your mechanical artwork with precision and accuracy.

Finishing Touches
After completing the assembly of your mechanical artwork, it is time to add the finishing touches. This is where you can truly make your piece stand out and shine. Some finishing techniques to consider include:
-
Painting: Adding a coat of paint can enhance the visual appeal of your artwork and tie together the different components.
-
Weathering: For a more realistic look, consider using weathering techniques to give your piece a worn or aged appearance.
-
Detailing: Don’t overlook the small details. Adding decals, stickers, or additional details can take your artwork to the next level.
Remember, the finishing touches are what will make your mechanical artwork truly unique and special.
Conclusion
Creating mechanical artwork is a challenging yet rewarding process. By understanding the art of precision and implementing the techniques mentioned in this article, you will be able to elevate your mechanical artwork to new heights. Keep practicing, experimenting, and pushing yourself to achieve greater levels of precision in your work. Happy creating!


